Difference between revisions of "Quantar"
| Line 248: | Line 248: | ||
# Remove the board from the case and take off the covers. | # Remove the board from the case and take off the covers. | ||
# Now locate the VCOs (IC3200). These are sealed units and have no diagram. Check out the schematic! The Diagram is wrong when it shows the upper and lower VCO! | # Now locate the VCOs (IC3200). These are sealed units and have no diagram. Check out the schematic! The Diagram is wrong when it shows the upper and lower VCO! | ||
| − | # Looking at the VCO I find it's easier to remove the copper shield than | + | |
| + | |||
| + | # Looking at the VCO I find it's easier to remove the copper shield than try to desolder the entire VCO module. | ||
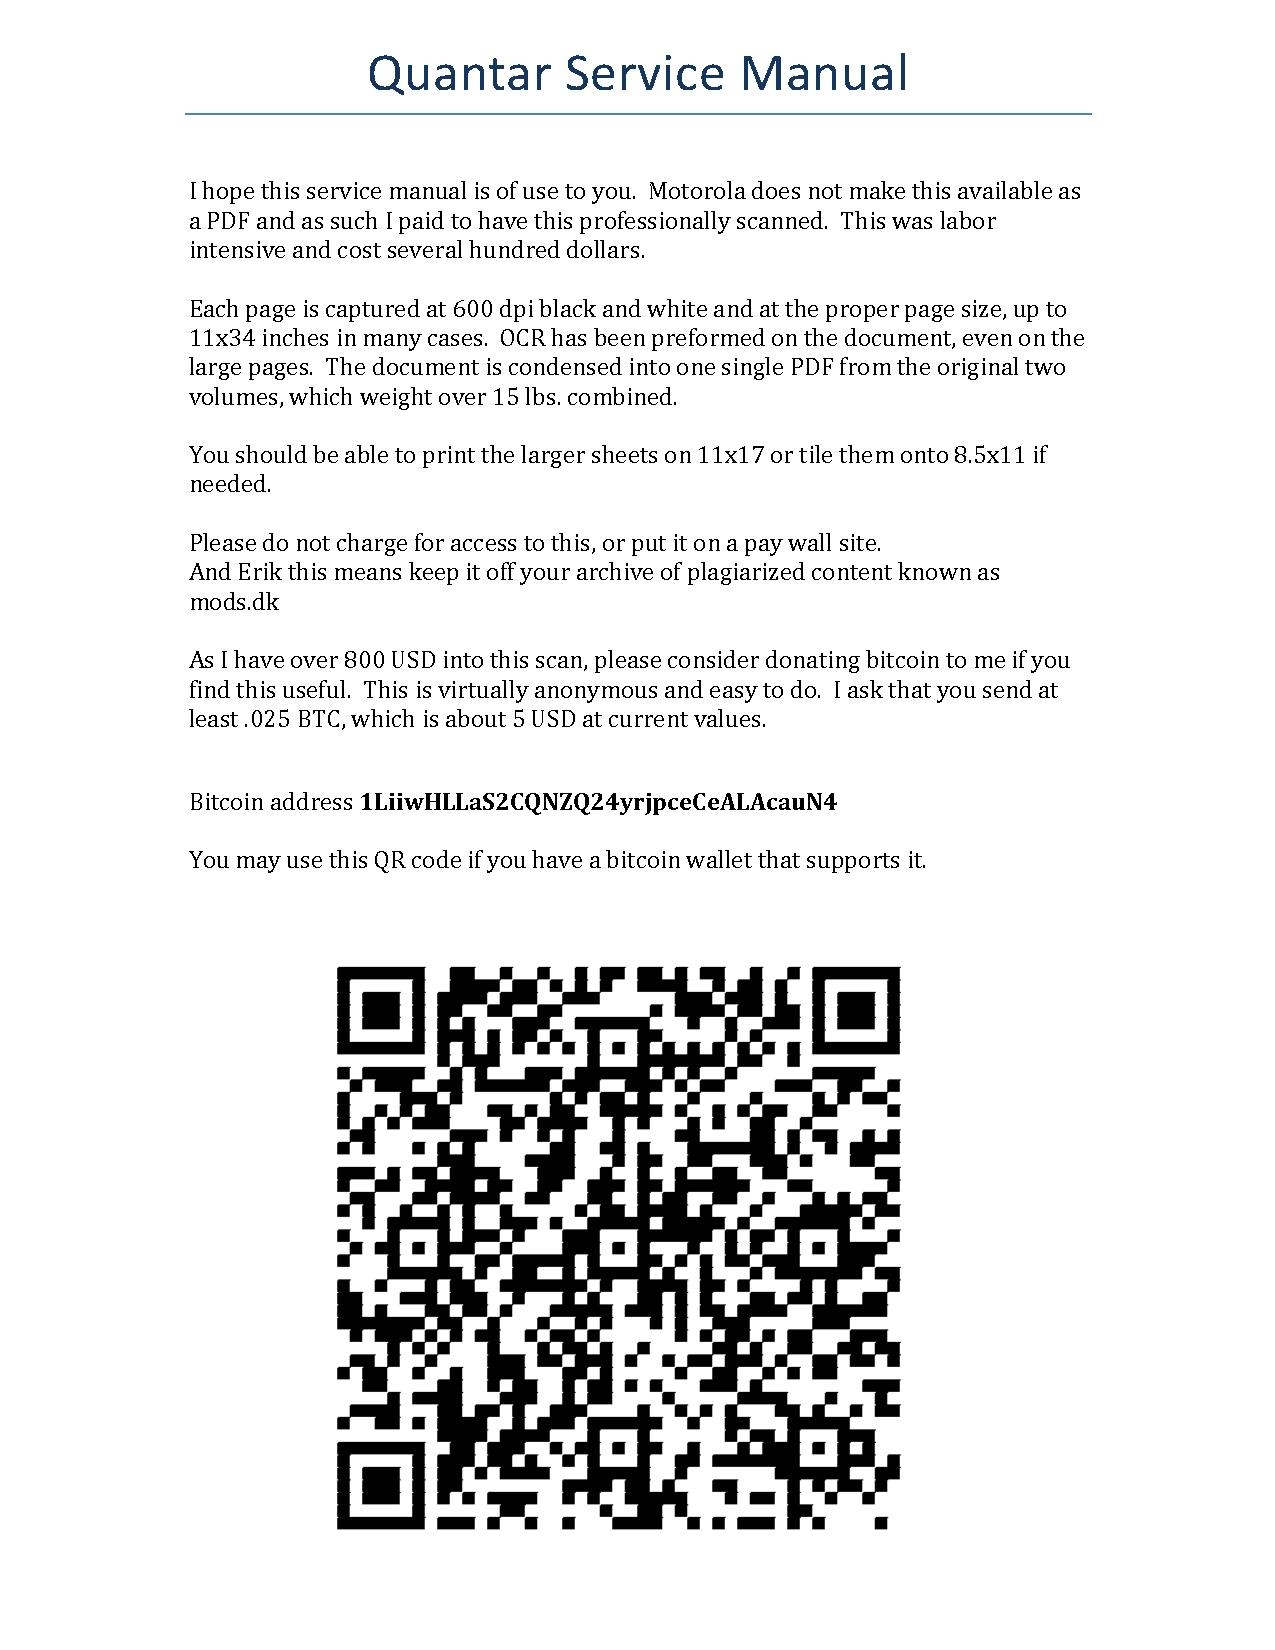
| + | [[File:Exciter VCO picture prior to removal.jpg|thumbnail|Exciter VCO picture prior to removal]] | ||
| + | The VCO substrate is ceramic high K board. It's sensitive to thermal shock, so be careful about this, as it will crack. It's sicking noise. | ||
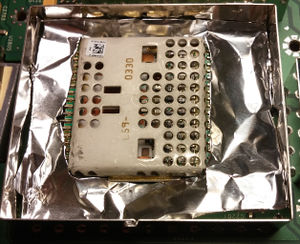
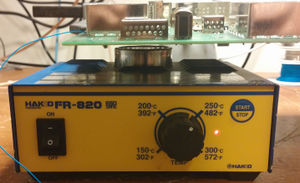
| + | The best way to remove the VCO shield is using chip quick on the "pins" under the board and then flipping it over and using a preheater on the underside for 3-4 min at 450°f. | ||
| + | |||
| + | [[File:Board Preheater.jpg|thumbnail|Board Preaheater]] | ||
| + | |||
| + | Prior to preheating I fashion supports out of Aluminum foil or other material and jam them between the PCB and the underside of the VCO. This will prevent the VCO board from falling off it's pins when removing the shield. Once this is done, mask off the area using hole cut in some foil. This is a heat shield for the other parts of the board. | ||
| + | |||
| + | Now turn on the preheater and wait for the board to warm up. Once it's up to 450° F take a hot air wand set to 15 l/min of flow and 650°f to the shield. After about 2-3 min it will loosen and you can pull the shield straight up. Careful you don't disturb any of the VCO parts, as they will most likely be reflowed too. If you do, don't panic, just look at the before picture and put everything back to how it was on the VCO. It's a pretty easy circuit to figure out. | ||
| + | |||
| + | Once you have the VCO exposed you can attach test wires to it. You'll need the following points | ||
| + | * 8.5 V power to high and low VCO (not at the same time, just tack the wire on) | ||
| + | * 0-12 V on the steering line | ||
| + | * output loops of wire on the VCO output. These are to be looped around a probe and into a spectrum anaylizer to view the output. | ||
| + | |||
| + | First a couple things about the VCO's, | ||
| + | # with the shield on they move up about 2.5 MHz | ||
| + | # from hot to cold Fr changes about 1.5 to 2 MHz. Hotter makes Fr go down, cool makes it go up. | ||
| + | # removing capacitance makes Fr go up. | ||
| + | # removing inductance makes Fr go up. | ||
| + | # the sweet spot for the VCO steering voltage os 2.5-7.5 v | ||
| + | # each VCO is designed to cover half the range of the quantar. | ||
| + | # * The Exciter will change VCO's when it hits it's center frequency +25khz. You can verify this my looking at the steering voltage in the exciter as you change frequencies. A test config file (Codeplug) makes this easy. | ||
| + | |||
| + | Starting with the low VCO, hook it up and sweep the 0-12v supply to check it's 385-430 MHz. within 5 MHz is ok, this VCO only covers 16 MHz in operation. | ||
| + | |||
Revision as of 11:12, 1 November 2015
Quantar/Quantro info
There is a bunch of info here about the technical aspects of the Quantar Stations
Programming
Links to programming stuff
CSS 007.13.R022.0035 for EPIC4 Smart Zone SCM
WinRSS 14.08.01 Current Windows RSS
Firmware
SIMM Images
Conventional Firmware for U1-U4 on the SIMM module 20.14.048
IntelliRepeater (IR) Firmware for U1-U8 on the two bank SIMM module 20.14.520
Wireline Images
Wireline 20.10.816 for AT27C010 Chips. This works with the 20.14.048 Conventional Firmware
Exciter Images
This is the matching Exciter Image for a AM27C512 UV EPROM
Code Plug format
Manuals
Hardware info
Part numbers
Here are part numbers and what the correspond to
Station Control info
Station Control Module or SCM is the heart of the Quantar station. The SCM comes in different revisons known as EPIC.
- EPIC I
- EPIC II
- EPIC III
- EPIC IV - This is only for the Smart Zone trunking. IT will not work for conventional
- EPIC V
The only difference between the various versions of the EPICs (excluding EPIC IV) is the hardware is newer. There is no difference in functionality for conventional analog/astro/P25 operation.
Exciter
Troof Table
| Header text | Header text | Header text |
|---|---|---|
| Example | Example | Example |
| Example | Example | Example |
| Example | Example | Example |
| Dip switch! | Band! | Binary! | Notes in the RSS! |
|---|---|---|---|
| 0 | VHF_R1 | 000000 | |
| 1 | VHF_R2 | 000001 | VHF R2 SL |
| 2 | UHF_R1 | 000010 | |
| 3 | UHF_R2 | 000011 | |
| 4 | 800 | 000100 | |
| 5 | VHF_R3 | 000101 | sl |
| 6 | VHF_R4 | 000110 | |
| 7 | VHF_R1 | 000111 | |
| 8 | VHF_R2 | 001000 | VHF R2 FL |
| 9 | VHF_R3 | 001001 | |
| 10 | VHF_R4 | 001010 | |
| 11 | 900 | 001011 | |
| 12 | UHF_R3 | 001100 | |
| 13 | UHF_R4 | 001101 | |
| 14 | blank | 001110 | |
| 15 | blank | 001111 | |
| 16 | blank | 010000 | |
| 17 | blank | 010001 | |
| 18 | blank | 010010 | |
| 19 | blank | 010011 | uhf r0 from book |
| 20 | blank | 010100 | |
| 21 | blank | 010101 | |
| 22 | blank | 010110 | |
| 23 | blank | 010111 | |
| 24 | blank | 011000 | |
| 25 | blank | 011001 | |
| 26 | blank | 011010 | |
| 27 | blank | 011011 | |
| 28 | blank | 011100 | |
| 29 | blank | 011101 | |
| 30 | blank | 011110 | |
| 31 | blank | 011111 | |
| 32 | blank | 100000 | |
| 33 | blank | 100001 | |
| 34 | blank | 100010 | |
| 35 | blank | 100011 | |
| 36 | blank | 100100 | |
| 37 | blank | 100101 | boot |
| 38 | blank | 100110 | |
| 39 | blank | 100111 | |
| 40 | blank | 101000 | |
| 41 | blank | 101001 | |
| 42 | blank | 101010 | |
| 43 | blank | 101011 | |
| 44 | blank | 101100 | |
| 45 | blank | 101101 | |
| 46 | blank | 101110 | |
| 47 | blank | 101111 | rssoly |
| 48 | blank | 110000 | |
| 49 | blank | 110001 | |
| 50 | blank | 110010 | |
| 51 | blank | 110011 | |
| 52 | blank | 110100 | RAP says VHF_R2 SL |
| 53 | blank | 110101 | |
| 54 | blank | 110110 | |
| 55 | blank | 110111 | |
| 56 | blank | 111000 | |
| 57 | blank | 111001 | |
| 58 | blank | 111010 | |
| 59 | blank | 111011 | |
| 60 | blank | 111100 | |
| 61 | blank | 111101 | |
| 62 | blank | 111110 | |
| 63 | INVALID | 111111 | Exciret is in reset all LED's are on and the PA fans turn on |
Conversions
Work in progress on moving qunatar bands
UHF R0 to R2
This is doable
Exciter
Power AMP
Receiver
UHF R1 to R2
Converting the R1 (403-433) to R2 (438-470)
I've done a number of these that all meet spec. If your planing on a conversion it's the best to start with, due to PA isolator covering it, and it being easier to remove material from the preselector than add it.
I've never done a R3 or R4 to R2, I'd like to though.
the R0 is easy as well, but it's got a different design to the VCO's.
Exciter
- Test it first! Trying to modify a broken exciter is like pushing a rope.
- Remove the board from the case and take off the covers.
- Now locate the VCOs (IC3200). These are sealed units and have no diagram. Check out the schematic! The Diagram is wrong when it shows the upper and lower VCO!
- Looking at the VCO I find it's easier to remove the copper shield than try to desolder the entire VCO module.
The VCO substrate is ceramic high K board. It's sensitive to thermal shock, so be careful about this, as it will crack. It's sicking noise. The best way to remove the VCO shield is using chip quick on the "pins" under the board and then flipping it over and using a preheater on the underside for 3-4 min at 450°f.
Prior to preheating I fashion supports out of Aluminum foil or other material and jam them between the PCB and the underside of the VCO. This will prevent the VCO board from falling off it's pins when removing the shield. Once this is done, mask off the area using hole cut in some foil. This is a heat shield for the other parts of the board.
Now turn on the preheater and wait for the board to warm up. Once it's up to 450° F take a hot air wand set to 15 l/min of flow and 650°f to the shield. After about 2-3 min it will loosen and you can pull the shield straight up. Careful you don't disturb any of the VCO parts, as they will most likely be reflowed too. If you do, don't panic, just look at the before picture and put everything back to how it was on the VCO. It's a pretty easy circuit to figure out.
Once you have the VCO exposed you can attach test wires to it. You'll need the following points
- 8.5 V power to high and low VCO (not at the same time, just tack the wire on)
- 0-12 V on the steering line
- output loops of wire on the VCO output. These are to be looped around a probe and into a spectrum anaylizer to view the output.
First a couple things about the VCO's,
- with the shield on they move up about 2.5 MHz
- from hot to cold Fr changes about 1.5 to 2 MHz. Hotter makes Fr go down, cool makes it go up.
- removing capacitance makes Fr go up.
- removing inductance makes Fr go up.
- the sweet spot for the VCO steering voltage os 2.5-7.5 v
- each VCO is designed to cover half the range of the quantar.
- * The Exciter will change VCO's when it hits it's center frequency +25khz. You can verify this my looking at the steering voltage in the exciter as you change frequencies. A test config file (Codeplug) makes this easy.
Starting with the low VCO, hook it up and sweep the 0-12v supply to check it's 385-430 MHz. within 5 MHz is ok, this VCO only covers 16 MHz in operation.
Power AMP
Receiver
| Part number | R1 | R2 | function |
| C2050 | 9.1 pF | 8.2 pF | |
| C2051 | 16pF | 13pF | |
| C2053 | 18 pF | 16 pF | |
| C2054 | 8.2 pF | 6.8 pF | |
| C2057 | 18 pF | 16 pF | |
| C2059 | 18 pF | 13 pF | |
| C2070 | 5.6 pF | 3.3 pF | |
| C2076 | 7.54 pF | 5.6 pF | |
| C2079 | 9.1 pF | 5.6 pF | |
| C2083 | 47 pF | 22 pF | |
| R2449 | 0 Ohm | 0 Ohm | ID |
| R2450 | 0 Ohm | 3300 Ohm | ID |


